Tokyo night JDM reel: Blender blockout → Seedance 2.5 → 4K
A 13.6 s gyaru × slammed Toyota Crown reel cut to 145 BPM: a clay Blender blockout sets camera and cuts, one Seedance 2.5 prompt paints the world, After Effects takes it to 4K.
Made with: seedance-2-5, nano-banana-pro, gpt-image-2.5-sunburst, Mira for Blender, Mira MCP, Blender, Mira for Adobe, After Effects, Claude
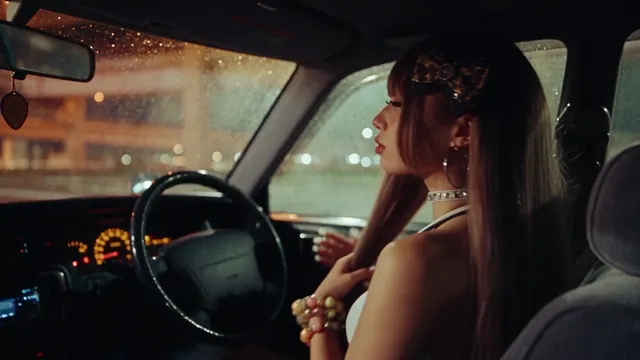
This reel started from a reference video with a track I liked and seven photos: three of a gyaru outfit and four of an old Toyota Crown. Everything else was built from them. I directed; Claude did the hands-on work in Blender, in Mira and in After Effects through the Mira MCP.
1. Measure the track
The music decides every cut, so it goes first. The 13.6 s excerpt runs at 145 BPM (one beat = 0.414 s). The kicks land at 0.42, 1.67, 2.91, 3.73, 4.98, 6.22, 7.05, 8.29, 9.53, 11.60 and 12.84 s, and there are three breaks: 4.0–4.98, 7.25–8.29 and 10.5–11.6 s.
- Cut only on the beat
Every cut sits on the beat grid. The drops after the breaks (4.96, 8.29 and 11.58 s) get the biggest changes of place and scale.
- Quiet shots in the breaks
The breaks carry the slow shots: the wheel close-up, the red portrait in the field, the fireworks.
- Write a shot table
18 cuts, 19 shots. One row per shot: time range, location, camera, what she does. The same table becomes the Blender markers and the Shot lines of the prompt.
2. Design the car before the clip
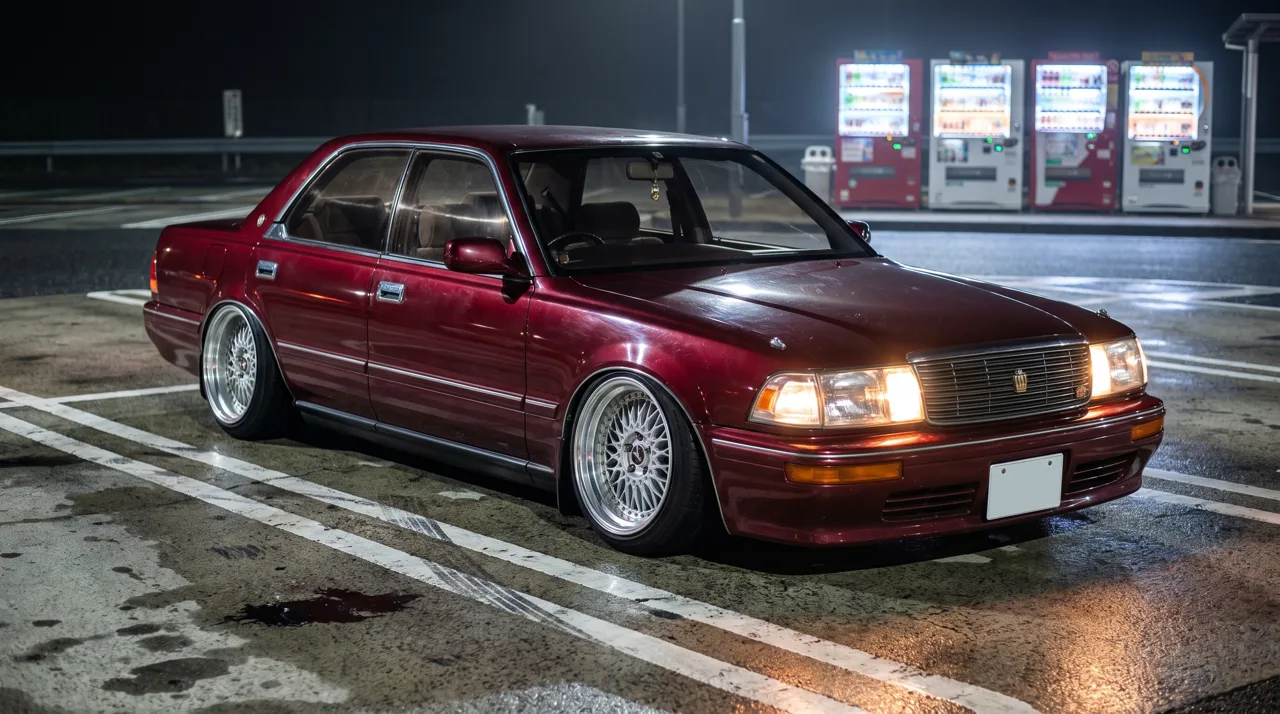
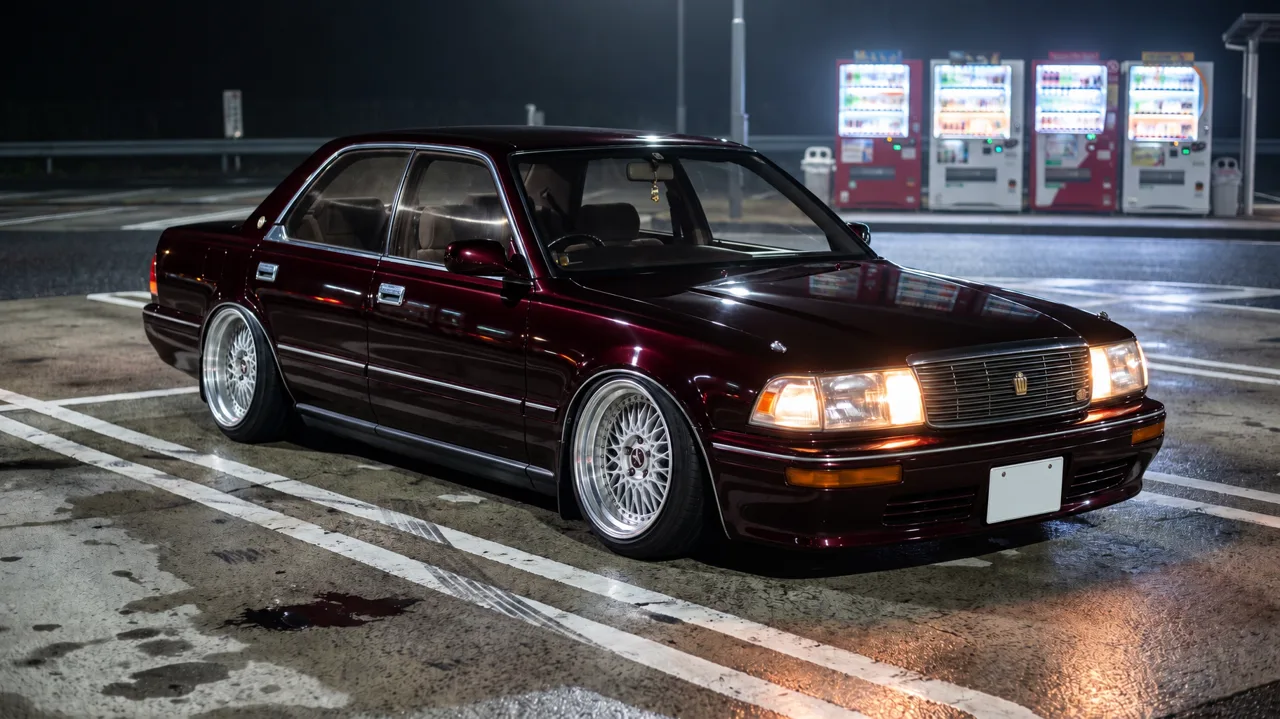
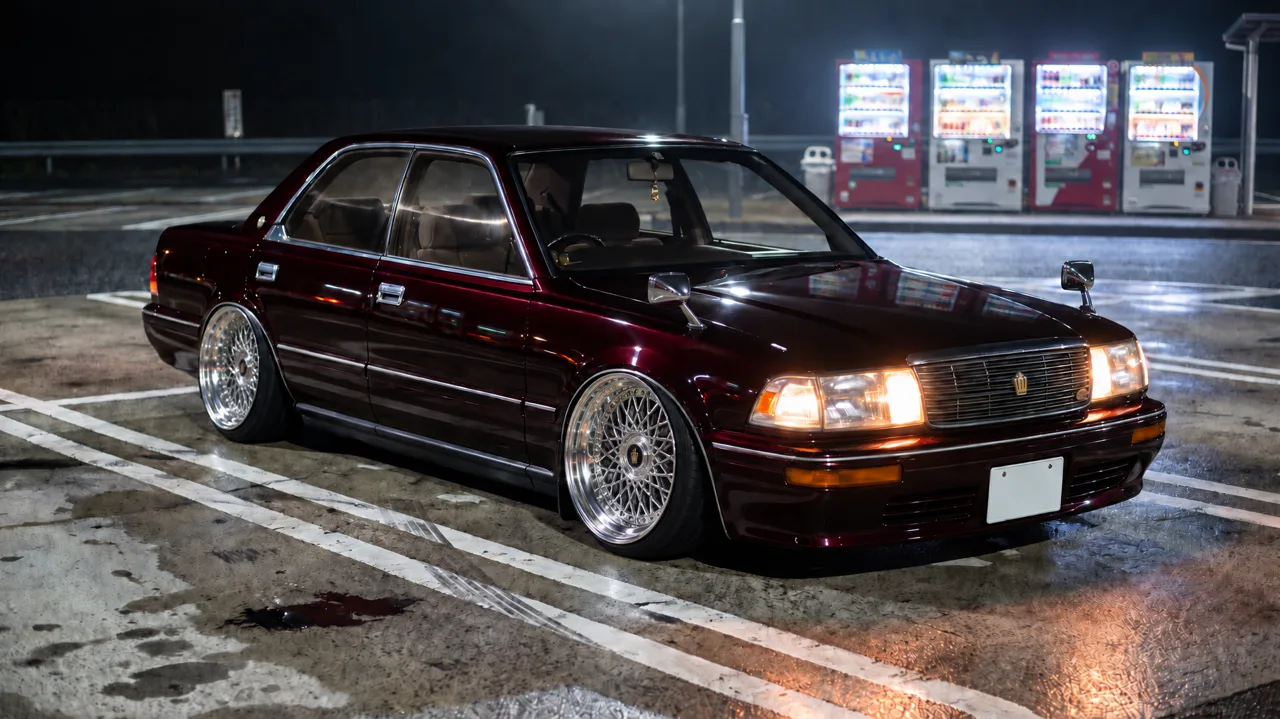
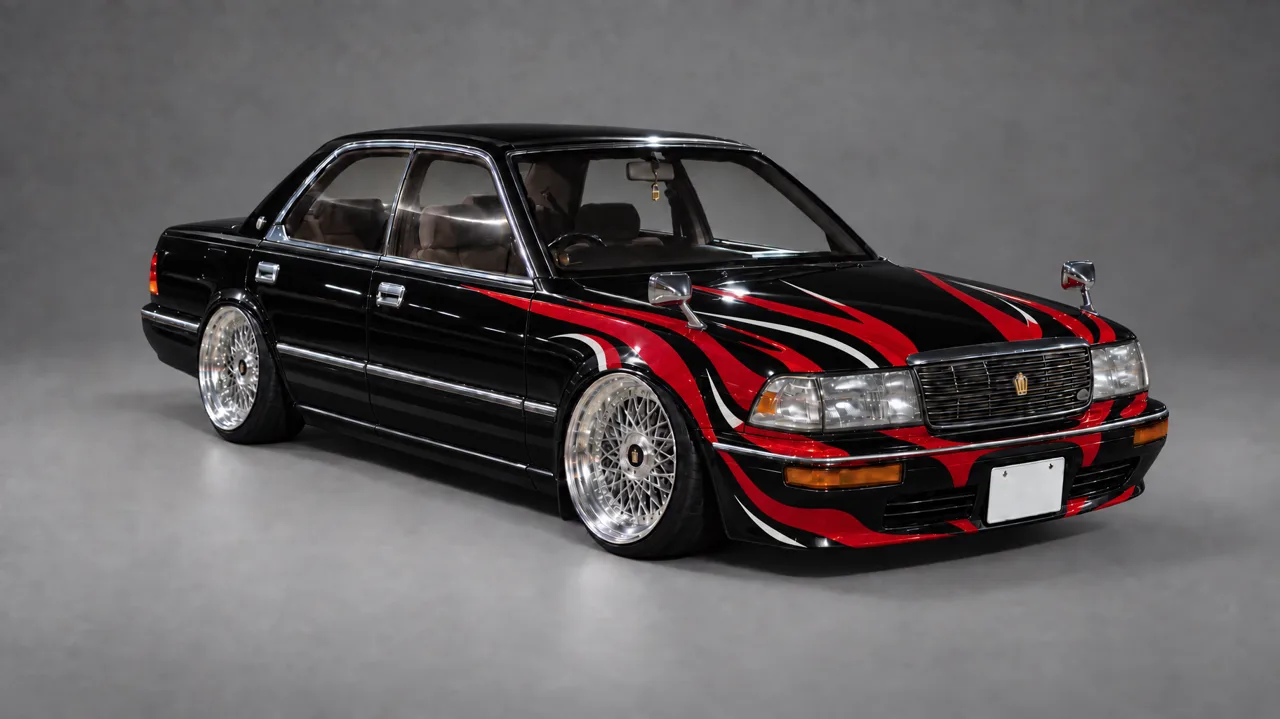
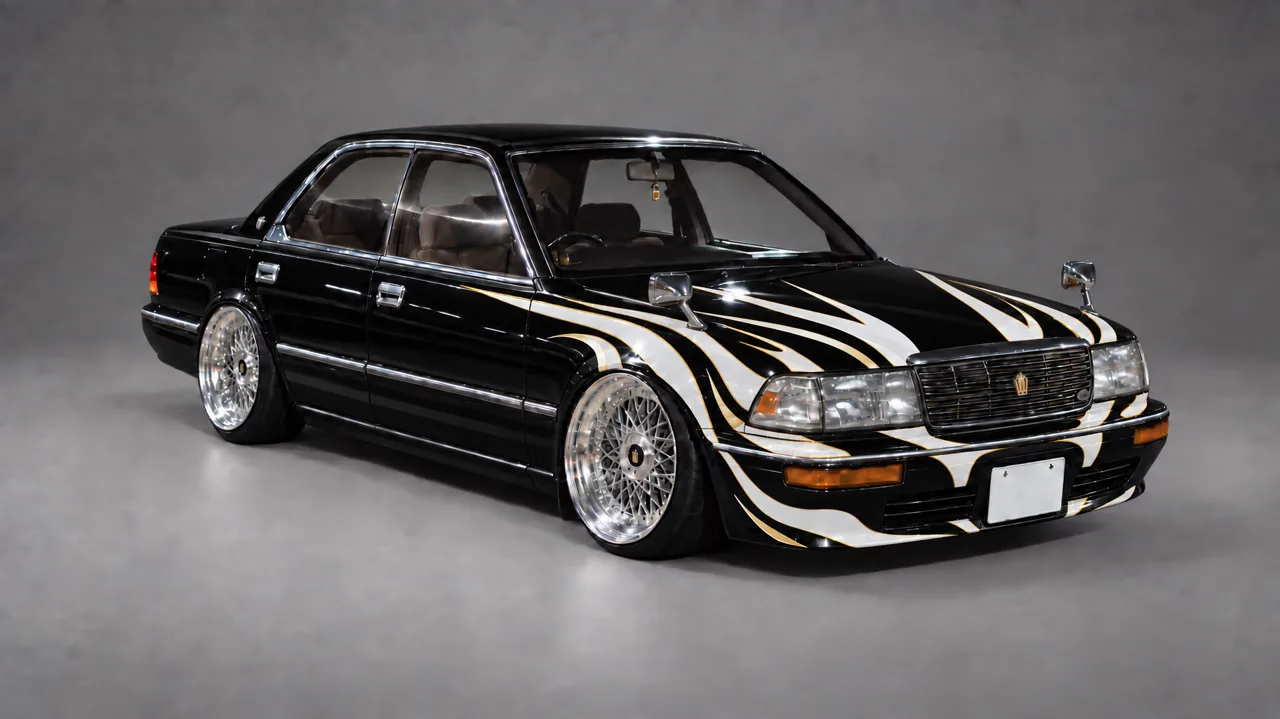
A video model copies a car far better from a clean studio reference than from a street photo. So the Crown was built as stills first, one change per step, and only then went into the clip.
- Edit, don't regenerate
Every step after the first is an edit of the previous image: Edit this photo. One change only: … The body shape and the stance survive every edit.
- Second angle from the first
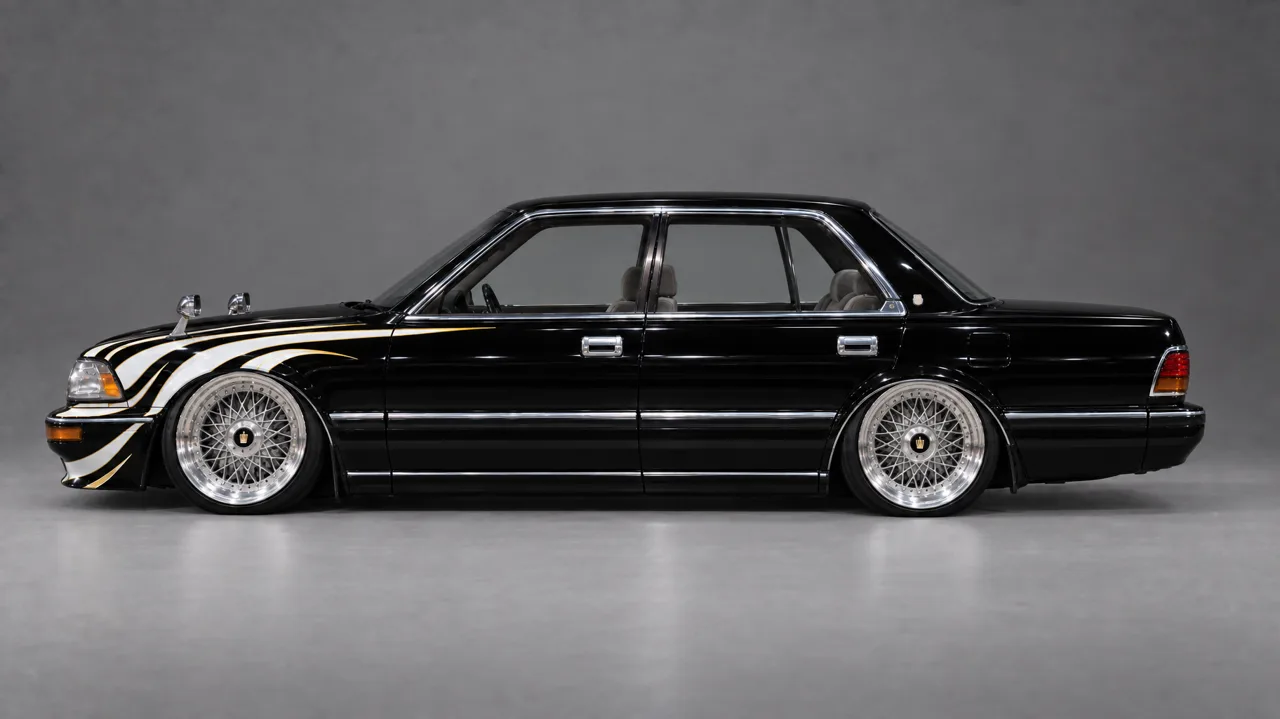
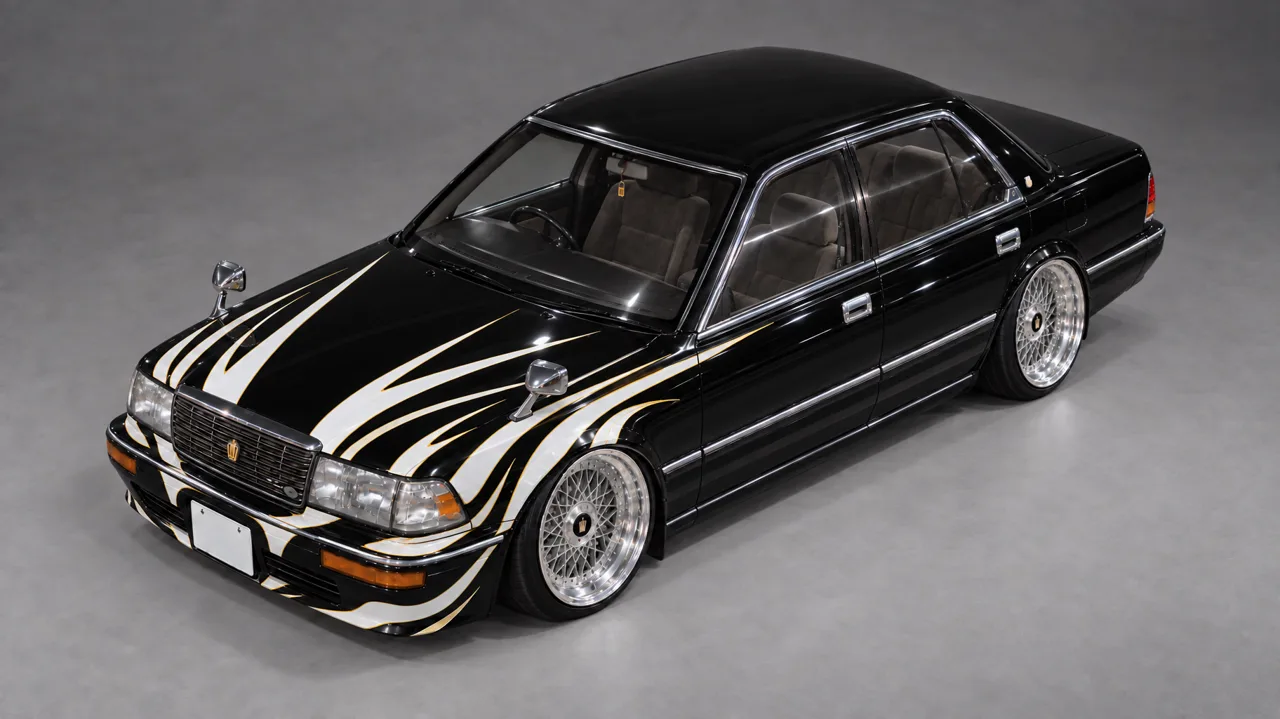
Make the rear and side views with the finished image as the second reference. Without it, spokes and details drift between angles.
- No real brands
Add No logos, no stickers, no text, or real tuning-brand decals appear on the body.
- Plain grey backdrop
Keep the references on a grey studio backdrop so the clip does not inherit their background.

3. The heroine: styling from photos, face from words
The outfit photos are used for styling only, and the faces on them are blurred first. The prompt says it plainly: her face is blurred for privacy - give her a sharp real face, never a blur. The model keeps the hair, bow, printed top, camo skirt and faux-fur leg warmers, and draws a new face from the description: age, eyeliner, bronzed skin, a matte brick-red lip, visible skin texture.
4. Block it out in Blender, in clay
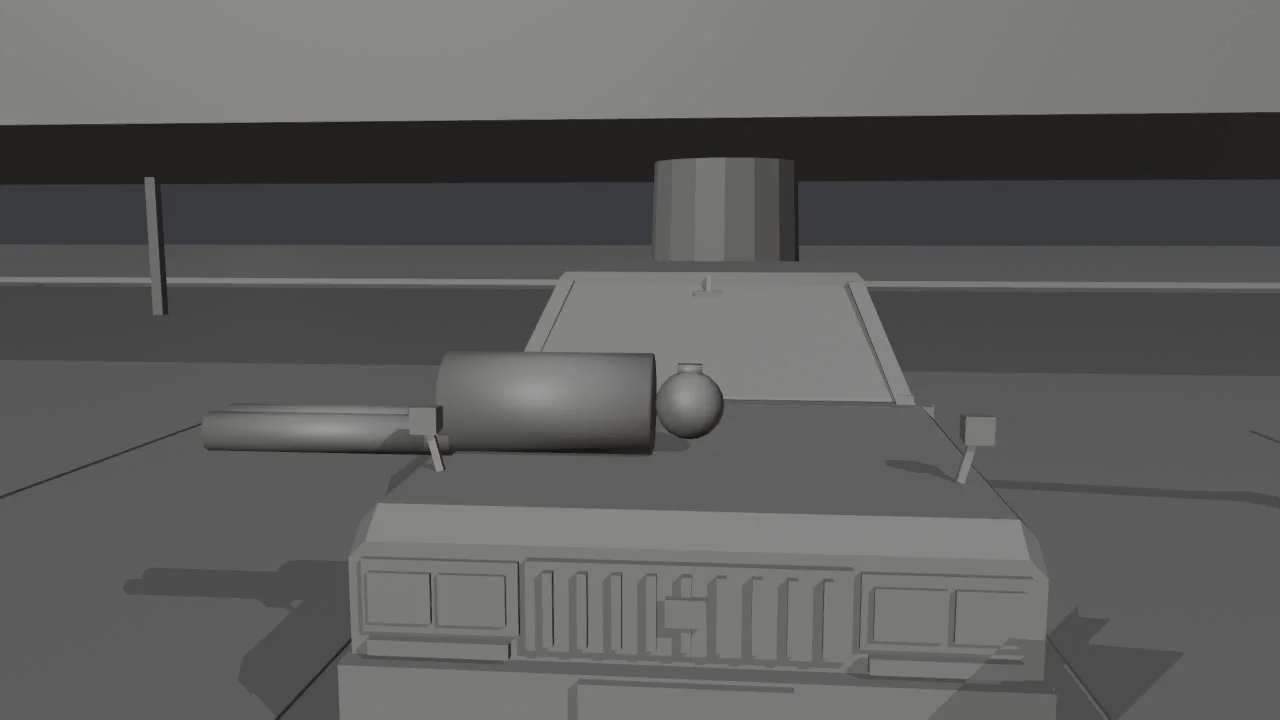
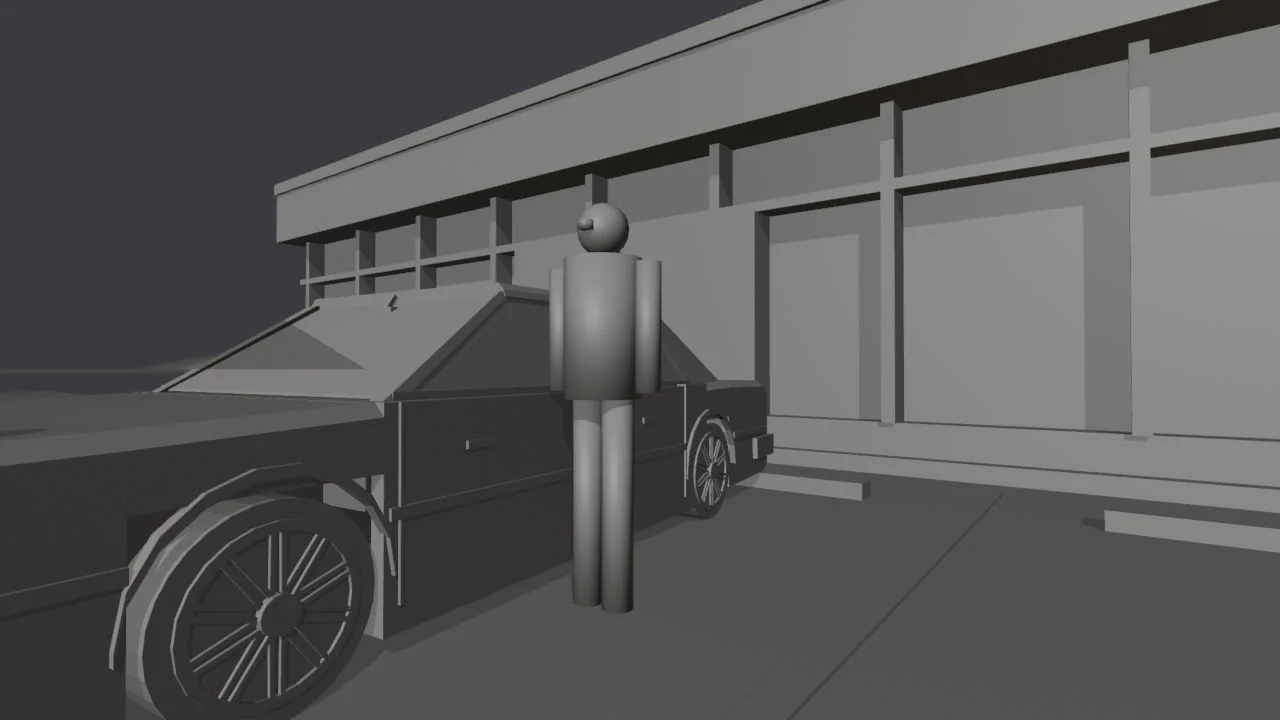
Claude built the scene in my Blender through the Mira MCP. It holds only what sets the camera, the scale and the motion: the car at real size (4.96 × 1.72 m), stand-in figures, the ground she stands on, the walls a camera looks at. No crowds, no trees, no props: those come from the prompt.
- One small set per location
Seven sets 300 m apart on one axis: parking lot, expressway, street, waterfront, red bridge, field, 7-Eleven. Cameras see only 200 m, so a neighbouring set never shows up on the horizon.
- A camera per shot, cut by markers
Each shot has its own camera bound to a timeline marker, so one playblast carries every cut exactly on the beat.
- Right-hand drive in the geometry
It's a Japanese car: her stand-in sits in the right seat and the POV camera sits behind it. The model then keeps the wheel on the right in every shot.
- Clay playblast
blender_playblastrecords a 1280×720 clay clip and lists every shot with its timecode. Those timecodes go straight into the prompt.
5. Write the prompt
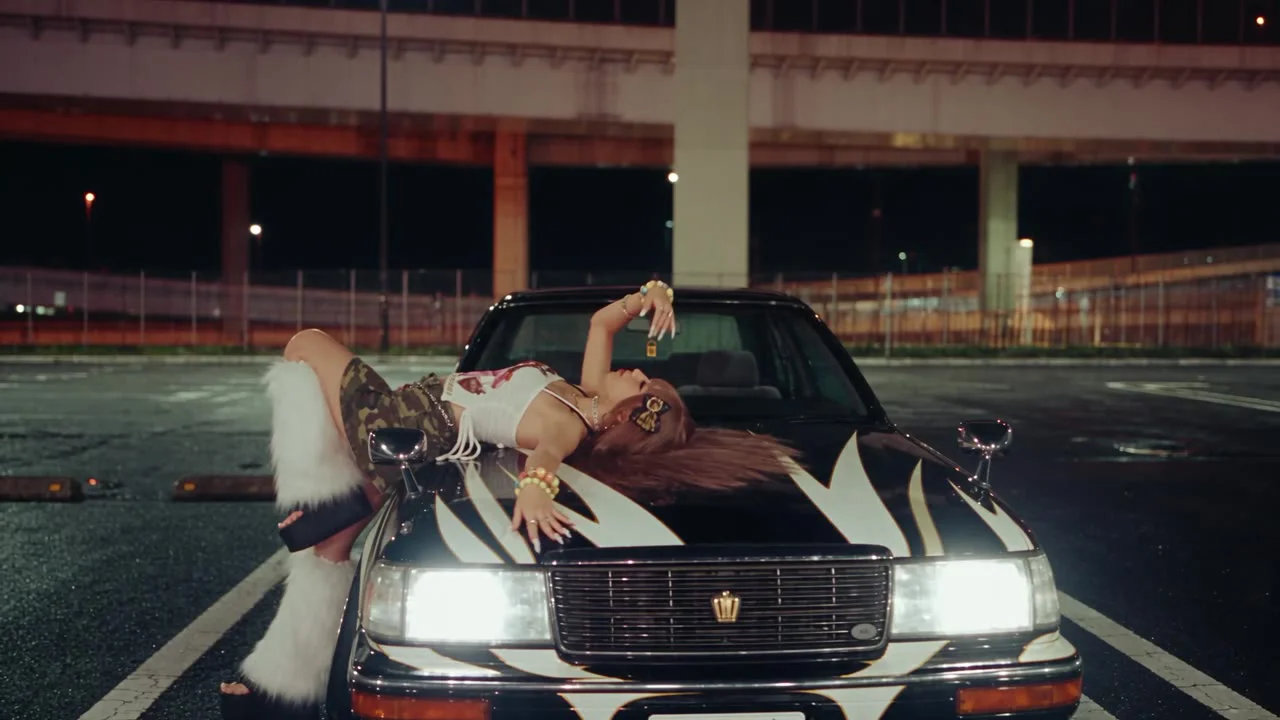
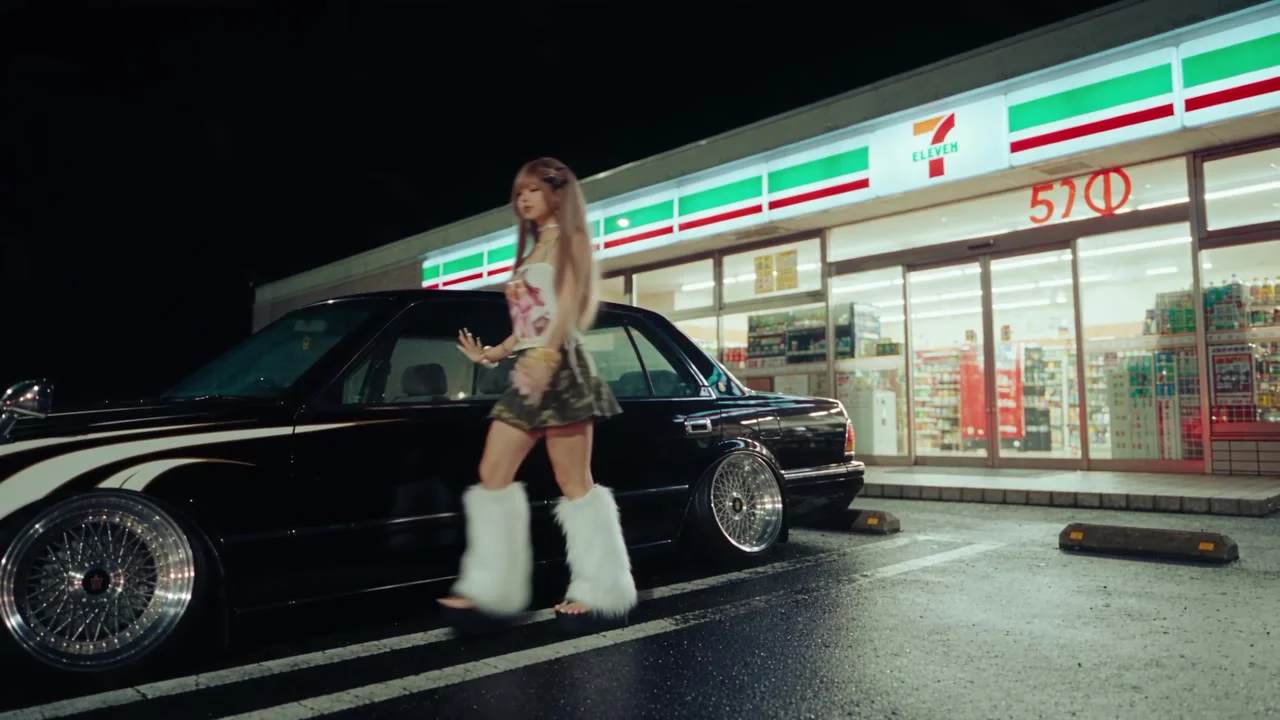
Seedance 2.5 on Mira takes the playblast as @Video1 and the stills as @Image1–4. The full prompt of the final take is attached to the video at the top; this is its structure:
- Bind the blockout
@Video1 is a clay 3D blockout: follow its camera path, framing and 17 hard cuts exactly (1.25, 1.67 …). Grey figures only mark positions, not poses or look.
- Give every image a role
@Image1–3 are the car: copy its shape, paint, lines, wheels and stance, not the grey backdrop. @Image4 is her styling only.
- One paragraph each for her and the car
Who she is, what she wears, what her hands do. The car's lights, right-hand drive and whenever the Crown moves, she is the one driving.
- One Shot line per cut
Exactly 18 shots, in order, one per cut, no extras, then Shot 1 (0.00-1.25s): … with the camera, the place and the action.
- One look, named once
35mm anamorphic behind a 1/4 Black Pro-Mist, CineStill 800T in a neon-noir grade, red halation, an on-camera flash with slow shutter in her shots.
- Sound
No BGM; generate only environmental and action sounds. No subtitles. The track goes on in the edit.
6. Draft at 480p, finish in 1080p
Seedance 2.5 clips run 5, 10, 15 or 30 s, so I generated 15 s and trimmed to the track. Every version went out as a 480p draft for 54 credits first, to check the cuts, the car and the driver's seat. Once a draft was right, finalize turned that same take into 1080p for 300 credits: the same shots, framing and cuts, with every detail redrawn at full resolution.
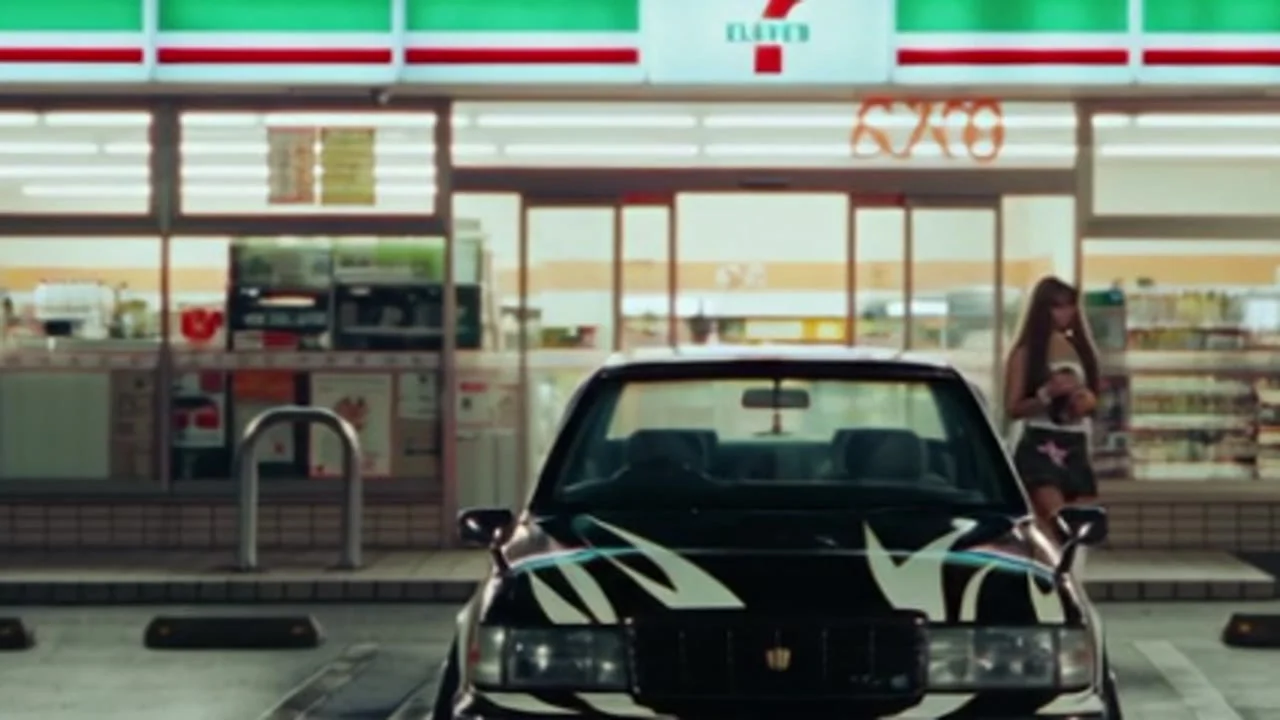
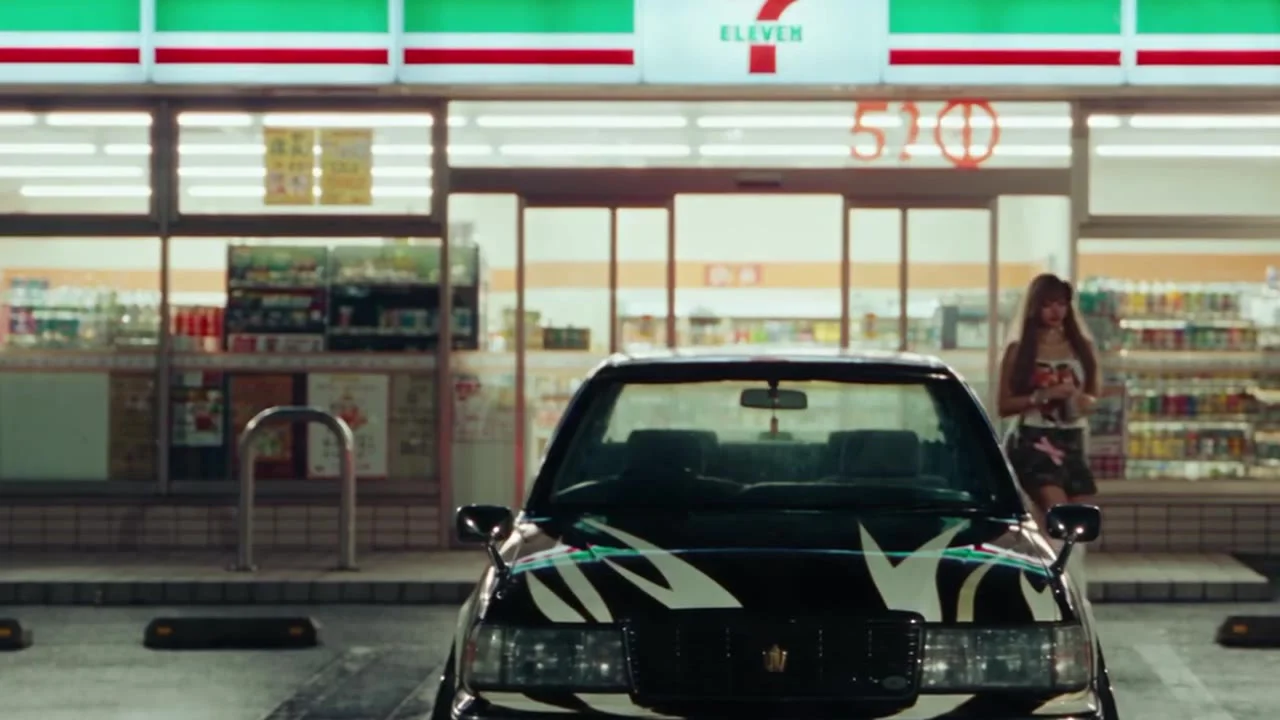
7. Grade and 4K in After Effects
Mira finishes at 1080p; the 4K master was made in After Effects on my own machine, driven through the Mira for Adobe panel.
- Upscale once, then grade
Detail-preserving Upscale ×2 on the plate, pre-rendered to ProRes so the grade stays fast to preview.
- Grade
Lumetri for contrast and crushed blacks, Color Balance for teal shadows and warm highlights.
- Film
A red halation layer around every light, a soft Pro-Mist bloom, fine 4K film grain on top.
- Hits on the beat
Camera-flash pops on the kicks, zoom punches through five cuts, light leaks and a film burn on the three drops.
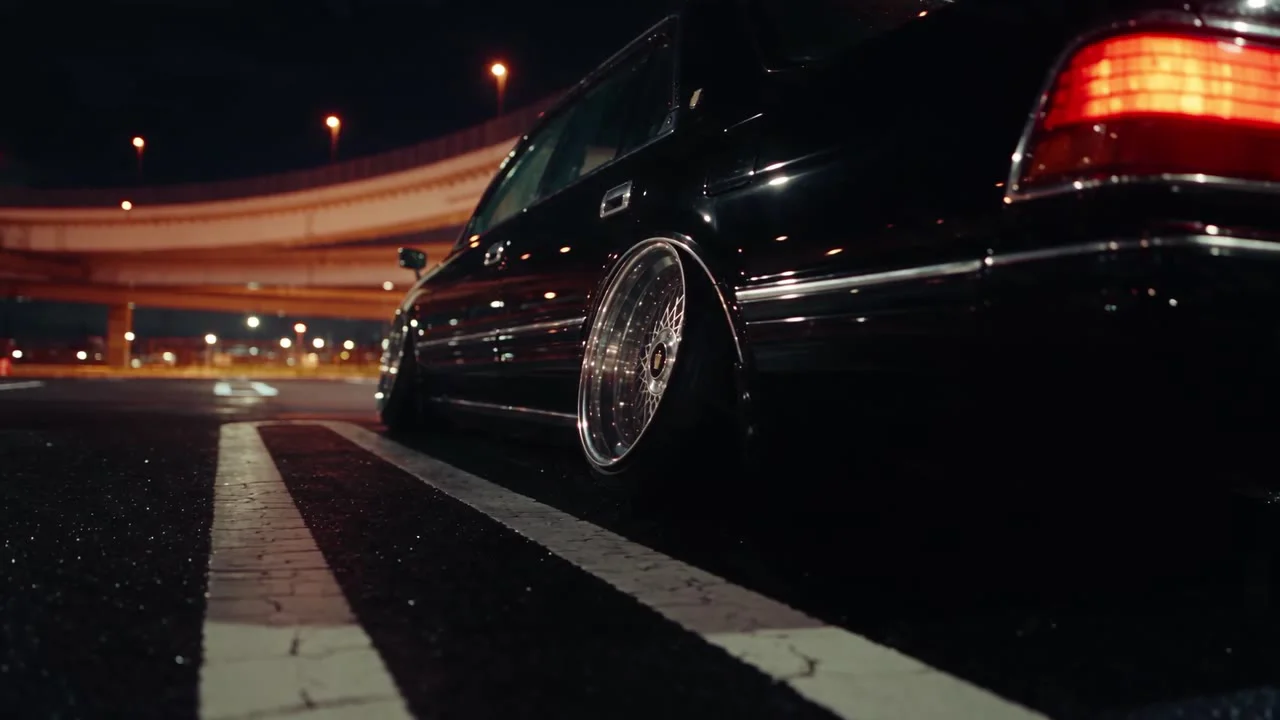
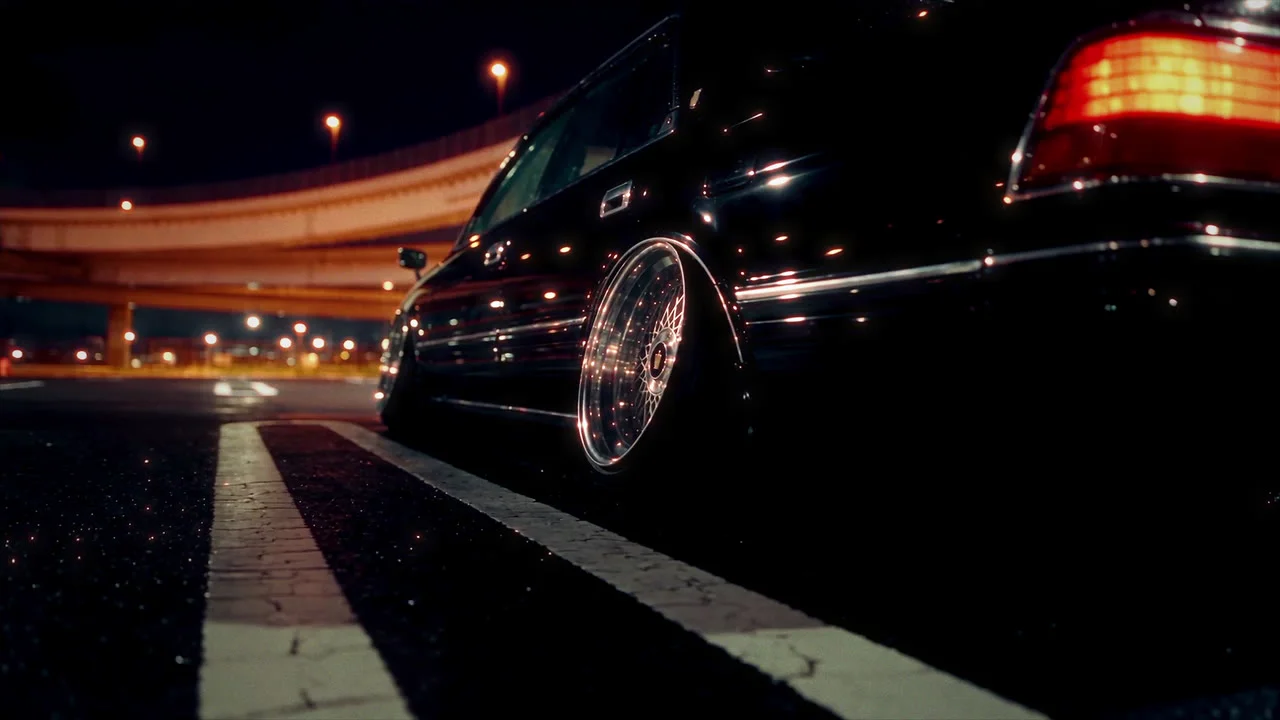
Bonus: same blockout, another world
Because the camera and the timing live in the blockout, a new world is only a new prompt. The same refitted blockout and car references, with the prompt rewritten as late-1990s hand-drawn cel animation:
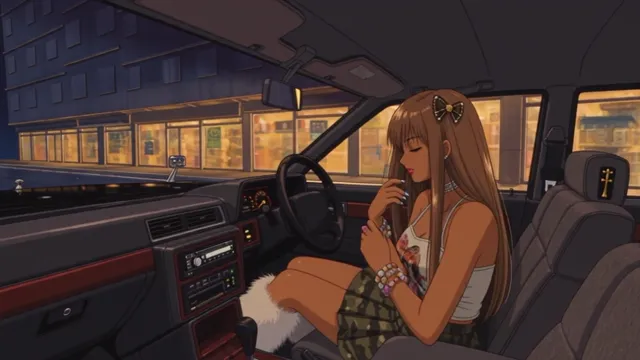
The whole recipe
- Beat grid → shot table.
- Car stills, one edit at a time, on a grey backdrop.
- A clay blockout with a camera per shot.
- One prompt: blockout binding, image roles, Shot lines, one look.
- 480p drafts until it's right → finalize to 1080p.
- Grade and 4K in After Effects.
Mira AI MCP — Seedance 2.5 drafts and finalize, the Mira MCP for Claude, Mira for Blender and Mira for Adobe.
Mira for Blender — The add-on that lets Claude build and shoot the blockout in your own Blender.